Make These Beautiful Plant Pots With Recycled Materials

Plant pots are containers in which you can place any kind of plants, including small bonsais, flowers, aromatic herbs (such as mint) and even trees.
Their purpose is to provide adequate support to the decorative plant placed in a particular place (indoor or outdoor).
Although they can be bought at any garden store and even supermarkets, it is often more fun to make plant pots to your own taste.
The varieties that are often sold are also often made of red clay (and nowadays plastic), which is not really attractive. Ultimately, of course, it all depends on your taste.
In this article, we look at a few plant pot ideas to inspire and motivate you.
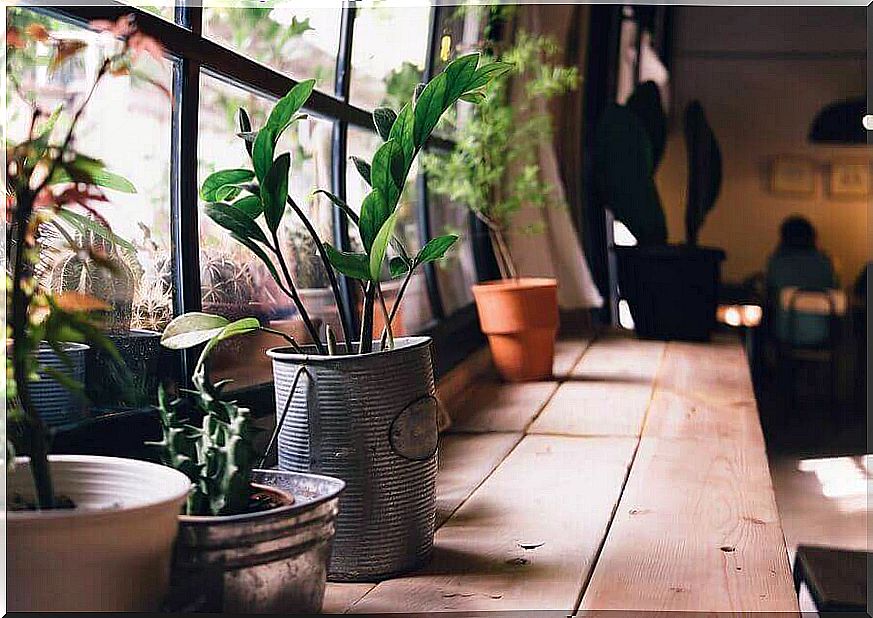
Plant pots made from tins
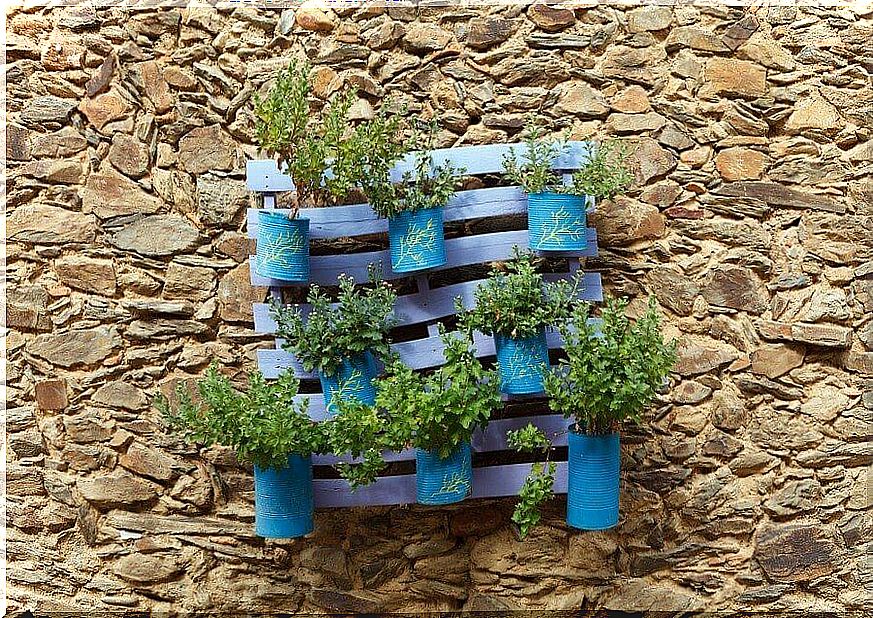
The advantage of making plant pots from food tins is that you can reuse them when you might otherwise throw them away. You have probably thrown away cans at home after you emptied them.
Furthermore, they come in different shapes and sizes and this gives you the opportunity to make different types of plant pots. This way you can make your garden colorful for little money and, more importantly, you can customize it to your own taste.
Necessary materials
- 1 knife
- adhesive tape
- spray paint
- cans of different sizes
Preparation
- Take a can and make holes in the bottom so that any excess water can drain away while watering the plants. This way you avoid water building up in the can, which can cause root rot.
- Paint the surface of the can with the spray paint (any color you like).
- Allow the paint to dry for the period indicated on the aerosol.
- Apply masking tape to the can, vertically or horizontally.
- Now spray paint over the entire surface of the can.
- Once dry, remove the tape, add soil, and finally a plant of your choice.
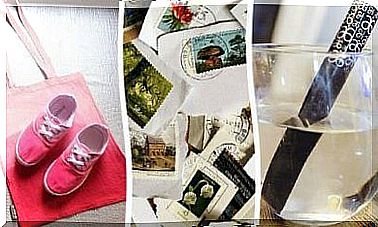
Vintage flower pots made from cans
Here’s another way to decorate your plant pots. If you like antiques and vintage, make sure to use this fun technique. It has to do with aging of the plant pot by using a little paint, which gives it a romantic and nostalgic look.
With these simple steps, you can create designs that seem straight out of the early 20th century. This will look great on a balcony or in the corner of a porch.
Necessary materials
- cans
- fine sandpaper
- a piece of a white candle
- foil with a flower pattern or any other pattern you prefer
- acrylic paint – sienna and antique white
- primer (to ensure that the paint adheres to the can)
Preparation
- First, take the can and make holes in the bottom. This is important because it prevents the plant from rotting.
- Mix a little bit of primer with white acrylic paint.
- Paint the inside and outside of the can (this will prevent rusting)
- Run the candle over the edges, both up and down. This gives it a worn look. The paint does not adhere to the tin where the candle has been rolled over .
- Paint with the white acrylic paint.
- You can gently sand the can when it’s dry to give it a worn look.
- Put sienna paint on the foil and press it against the can.
- You can dot the edges with sienna paint to finish it off.
Use plastic bottles
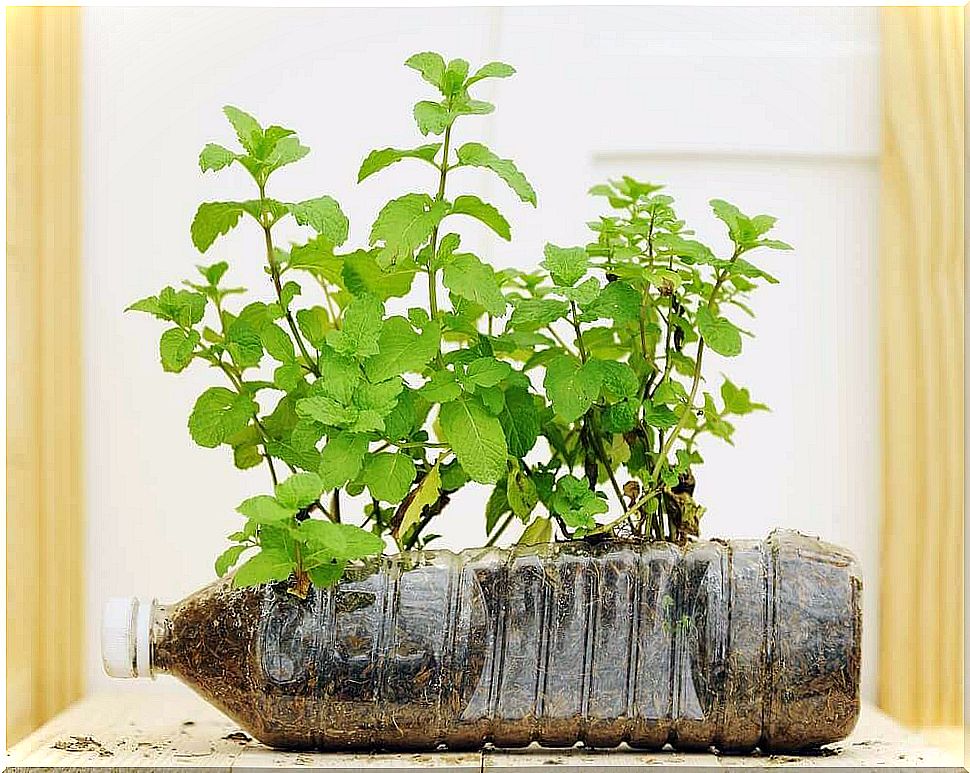
Plastic bottles are another item that can often be found around the home. To avoid growing your stock of them, it’s better to use them in a different way.
Remember that plastic causes major environmental problems because it is not biodegradable. When you recycle plastic bottles, you help the environment. In addition, you can make beautiful pots that you have made yourself.
More importantly, they have a personal touch that is unique and unparalleled. Below are three ideas you can use to let your imagination run wild.
Necessary materials
- box cutter or scissors
- a black marker
- acrylic paint
- plastic bottles in different sizes
A plant pot made from the bottom of a bottle
- Take the bottle and draw two elongated triangles on the top part that resemble upright rabbit ears.
- Cut the plastic so that the two ears stick out above the edge.
- Make holes in the bottom of the bottle.
- Paint the inside and the outside with white acrylic paint.
- Let it dry.
- Draw eyes, a nose and a mouth with a marker.
- Add details with pink acrylic paint.
- You can also make a cat, dog or mouse – it just comes to mind.
- The lower part of the bottle represents the legs and you can add details here with paint or marker.
- This is especially a great project for kids.
The top part
- Leave the bottle caps on and make holes in them to allow the water to drain.
- Paint with the bright colors and let it dry.
- Add details with paint or felt-tip pens.
- You can transform container handles into noses.
- Paint two large eyes on each side.
- Cover the entire bottle with drawings.
- You can pin it to the wall and create a vertical garden.
Use the whole bottle
- Use the bottle with the cap on and put it down.
- Take a box cutter, cut a hole in the part of the bottle that faces up so you can put soil and plants in the bottle.
- Make holes in the part of the bottle that touches the floor.
- You are done! You can hang it up or put it on the floor.

Making plant pots with recycled material provides you with many benefits, such as:
- You reuse products that would otherwise harm the environment.
- You use your creative side.
- It decorates your house.
- It connects you with nature.
- Furthermore, it lowers your stress levels, with creativity, fun and beauty!